You've just had a pipe burst, a windstorm rip shingles off the roof, or a kitchen fire leave the framing looking questionable. The insurer wants a report, the contractor wants a scope, and you're staring at a pile of technical words that all seem to mean the same thing. A structural damage inspection is the step that turns that confusion into a decision, because it tells you whether the building's load-bearing system is still doing its job and what evidence will matter when the claim is reviewed.
Think of a house like a skeleton with skin on top. The drywall, paint, siding, and flooring can look messy without the skeleton failing, but when beams, joists, foundation elements, or connections are compromised, the whole structure starts to tell a different story. Inspection frequency and method have shifted toward that reality, with commercial guidance generally recommending inspections every 3 to 5 years, older structures about every 5 years, and new buildings not going longer than 10 years without assessment, while modern damage-detection research is already using computer vision to speed the process, including a 2025 arXiv model that reported 82.4% mAP@50, 83.3% precision, 81.1% recall, and 11 ms per image (Rimkus on structural damage inspection).
What a Structural Damage Inspection Actually Covers
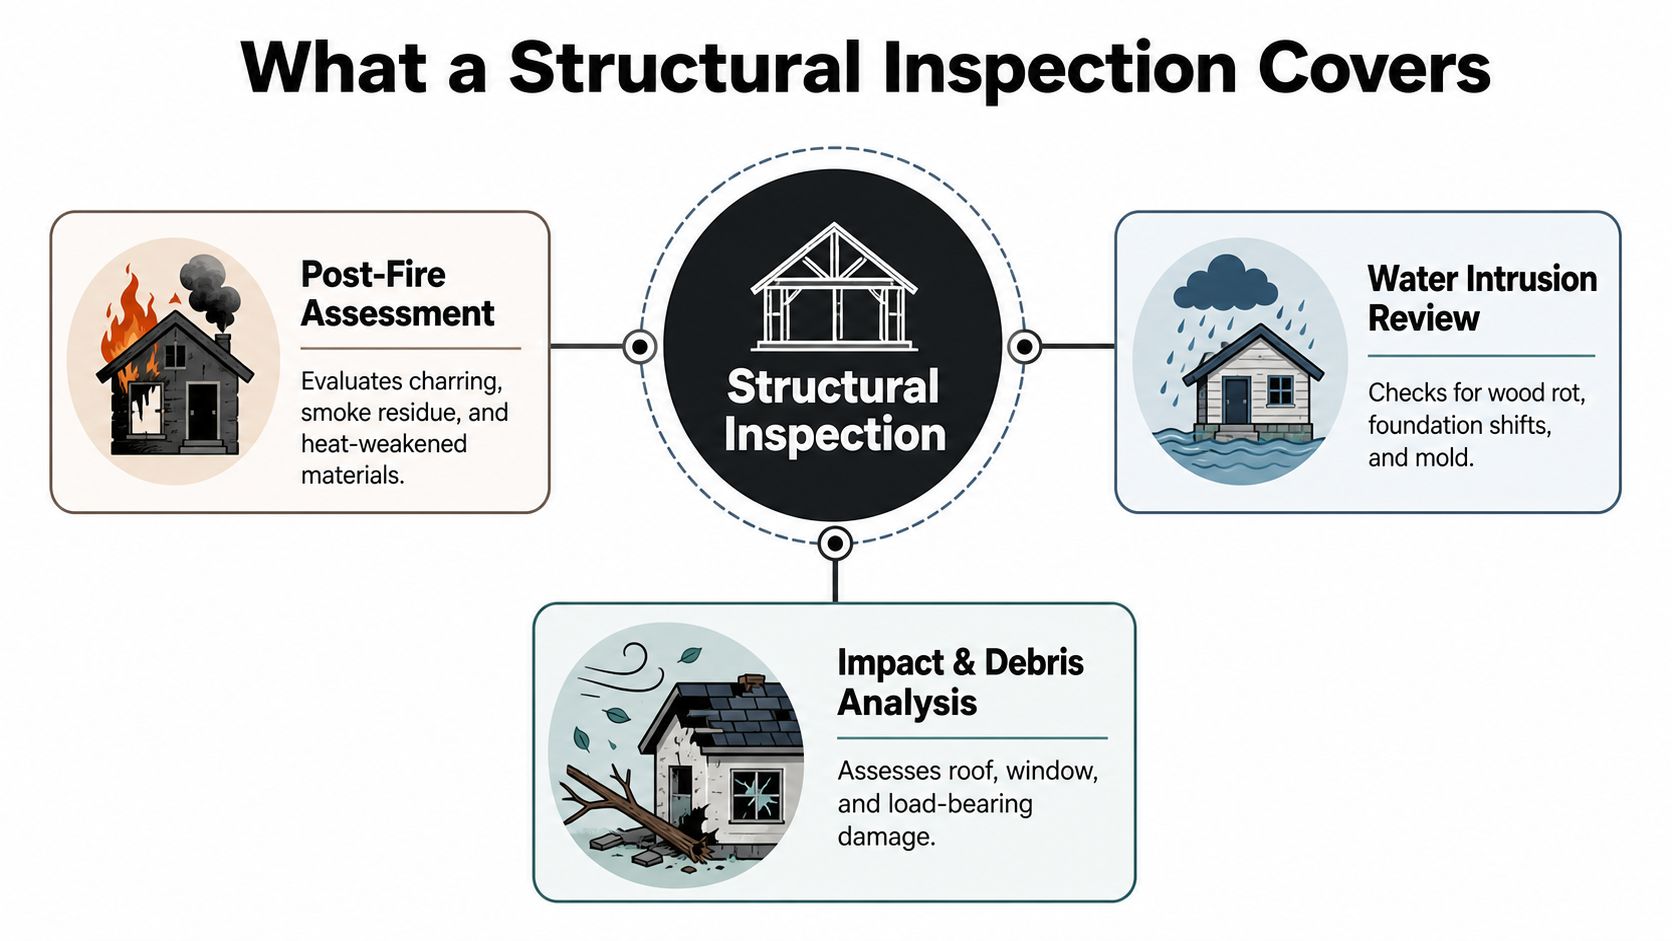
After a loss, people often assume any walkthrough that finds cracks counts as a structural inspection. It doesn't. A real structural damage inspection is a systematic evaluation of the building's load-bearing components, including foundations, framing, connections, and anything that carries or transfers load, so the inspector can decide whether the building is safe, usable, and repairable under insurance terms.
What gets looked at
The building is treated like a connected system, not a list of isolated rooms. Inspectors look at where loads start, where they travel, and where the path may have been interrupted by fire, flood, impact, or settlement. That's why one damaged beam may matter more than a dozen cosmetic cracks in finishes.
A homeowner usually meets three different interpretations of the same damage. A general home inspector looks for visible defects in a broad sense. An insurance adjuster is usually trying to estimate covered loss and repair cost. A structural inspector, especially one working from engineering principles, is asking whether the damaged member still performs its function and whether the structure has lost capacity.
That difference matters because the report can carry legal and financial weight. In claims work, the language used in the report often shapes whether repairs are treated as cosmetic patching or as work that requires engineering involvement and broader rebuilding.
What the deliverable usually looks like
A proper report is more than a checklist. It normally includes observations, measurements, photographs, a description of damage patterns, and a conclusion about severity or next steps. If the building's skeleton is the issue, the report is the map that shows where the bones are stressed and how far the stress has spread.
Practical rule: if the report doesn't explain the load path, the likely mechanism of damage, and what evidence supports that conclusion, it's not giving you enough to use in a claim.
Residential Versus Commercial and the Engineer Versus Inspector Question
A single-family house and a shopping center can both crack, sag, or leak, but they don't get inspected the same way. Residential work usually centers on foundations, crawlspaces, load-bearing walls, roof framing, and connection points that affect one household's ability to live in the building. Commercial work often has to evaluate multi-story load paths, parking structures, envelopes, and occupancy issues, because a failure there can affect many tenants, public access, or code compliance.
Choosing the right professional
A home inspector is useful when you need a broad property review. A structural engineer is the better fit when the damage appears to involve the building's capacity, movement, or safety margin. If you want a report that can support a repair scope or respond to a carrier's loss position, the engineering report usually carries more weight, which is why many owners ask for a dedicated structural engineer report when the loss is more than superficial.
The practical signals are usually easy to spot. Visible deflection, repeated cracking after prior repairs, sagging floors, roof lines that no longer look straight, or event damage after a fire, flood, or impact are all situations where a specialist review makes more sense than a quick general inspection. In Oregon and Washington, that choice can affect whether the claim file looks like a minor maintenance issue or a documented structural loss.
A simple decision rule
Use this rule of thumb. If you need a general condition snapshot, a home inspector may be enough. If you need an opinion about structural integrity, causation, or whether damage is progressing, bring in a licensed structural engineer.
If the question is “Is this building still structurally sound?” the answer shouldn't come from a casual walkthrough.
How a Structural Inspection Works From Arrival to Written Report
A homeowner usually sees the inspector arrive with a clipboard or tablet, but the substantive work starts before anyone steps inside. The inspector first looks at the building from a safe distance, then reviews the story behind the damage, such as prior photos, repair records, permits, and the claim narrative. That first pass sets the scope, because the inspector needs to understand where the suspected problem sits in the structure before touching a wall, beam, or floor system.
The on-site workflow
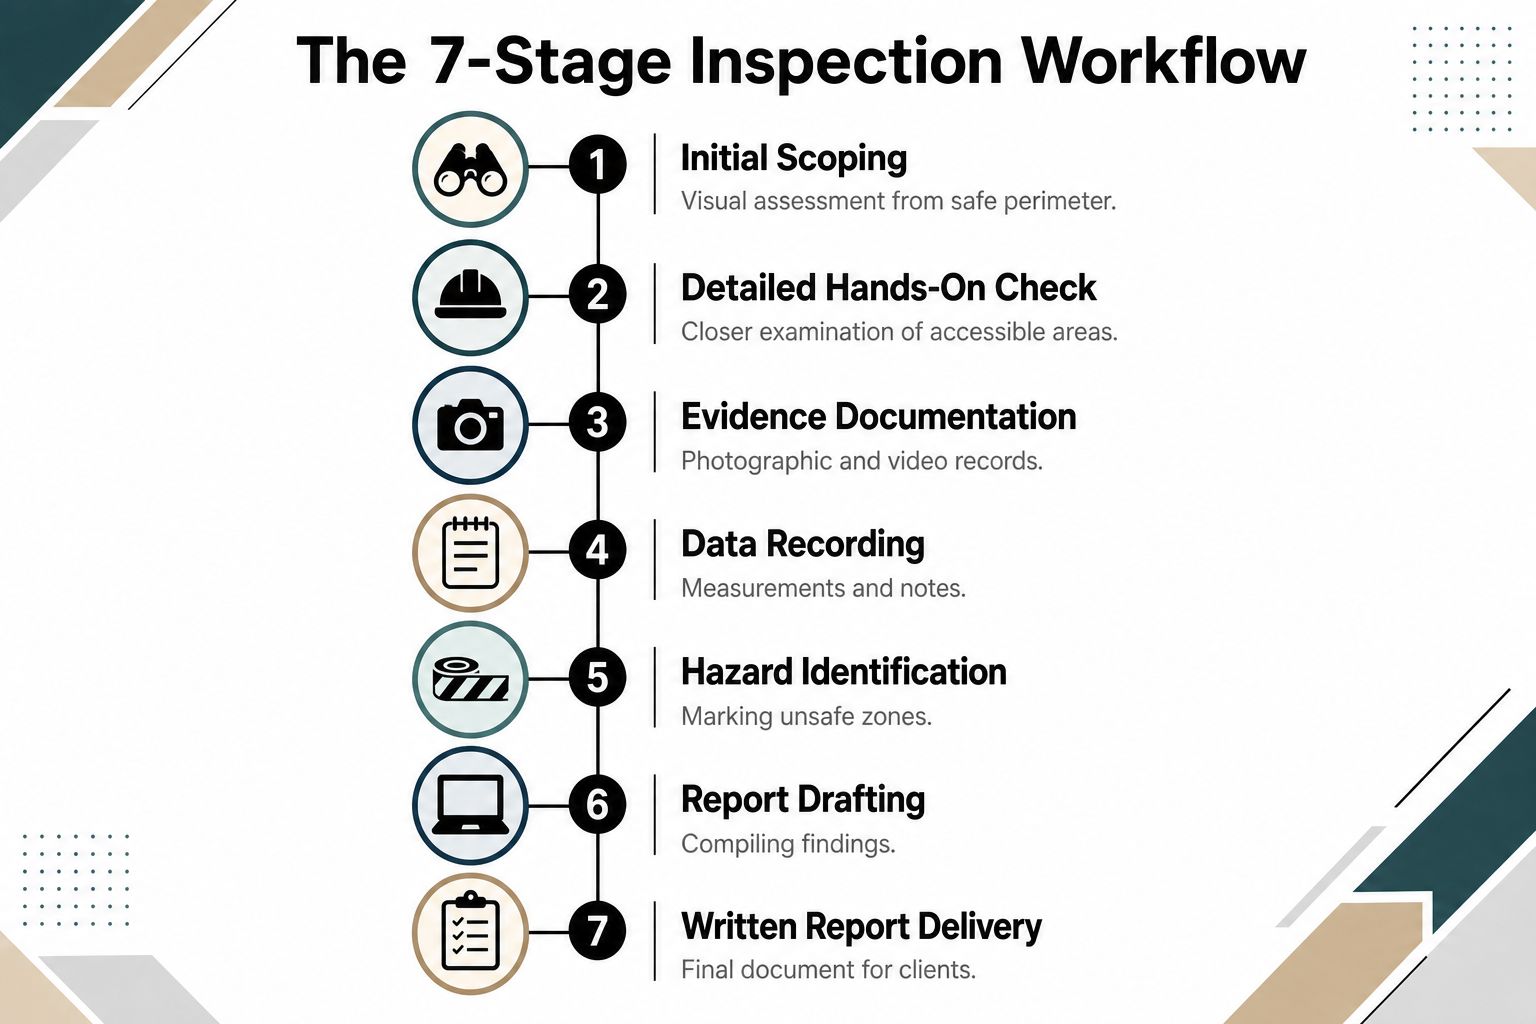
The process is easier to follow when you break it into stages.
- Initial scoping. The inspector identifies the visible problem and traces the likely load path.
- Detailed hands-on check. Accessible areas, such as crawlspaces, attics, basements, and exposed framing, receive closer examination.
- Evidence documentation. Photos and video preserve what was seen on site.
- Data recording. Measurements, notes, and instrument readings are logged.
- Hazard identification. Unsafe areas are marked, avoided, or limited.
- Report drafting. Findings are organized into a clear conclusion.
- Written report delivery. The finished document is prepared for repair planning or claims review.
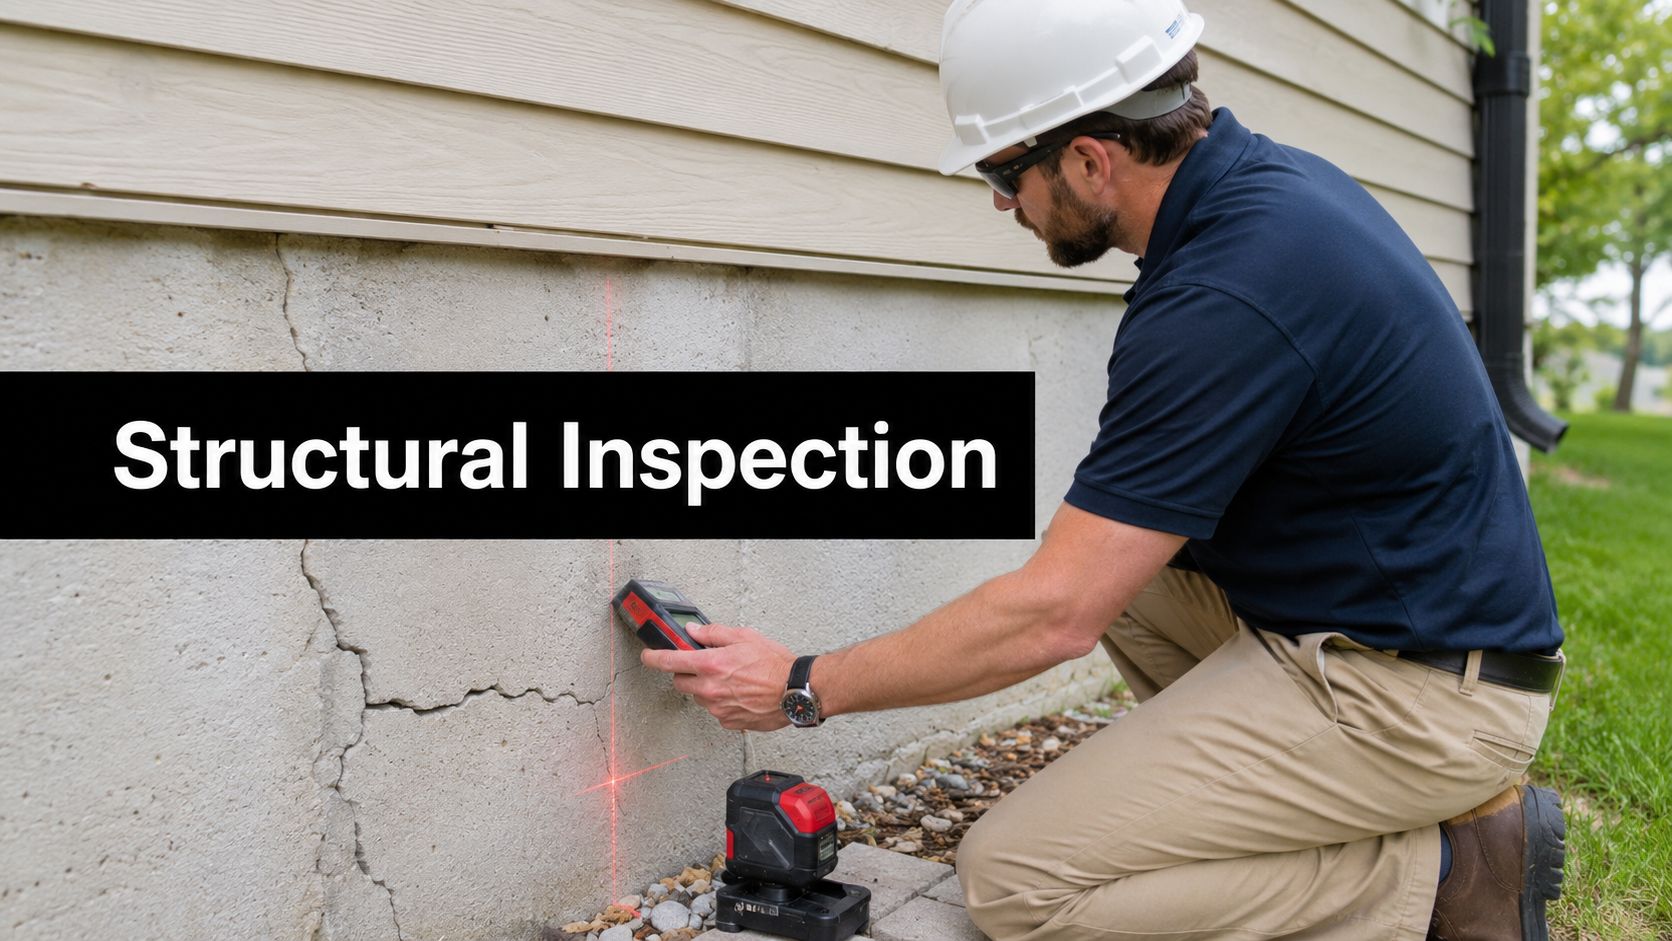
The tools matter because they cut down on guesswork. Inspectors may use moisture meters, laser levels, thermal cameras, and drones to spot patterns that are not obvious from standing eye level. After water intrusion or roof damage, that kind of evidence matters because the stain you can see is often only the surface clue. For a homeowner who wants to track what was checked and what still needs attention, a property inspection checklist can help organize the same areas the inspector is likely to review.
Reading the report the right way
Start with the conclusion, then move to the observations, then the photos. The most useful language is the part that connects the visible condition to a mechanism, such as movement, loss of section, or compromised load transfer. A report that lists defects without explaining what they mean structurally can be hard to use in an Oregon or Washington claim file, even if the wording sounds technical.
For a homeowner, the report should answer three plain questions. What failed or may have failed. Why it matters to the structure. What should be repaired, monitored, or reviewed next.
For a damage example that shows how moisture can change the story behind structural findings, homeowners dealing with persistent dampness may also want to find hidden leaks in Brisbane, because repeated wetting can turn a surface issue into deterioration behind finishes.
Warning Signs That Should Trigger a Structural Inspection
Some damage is obvious. A fallen beam or collapsed wall leaves little room for interpretation. The harder cases begin with details that seem small, then spread into doors that stick, floors that slope, or walls that stop carrying weight the way they should.
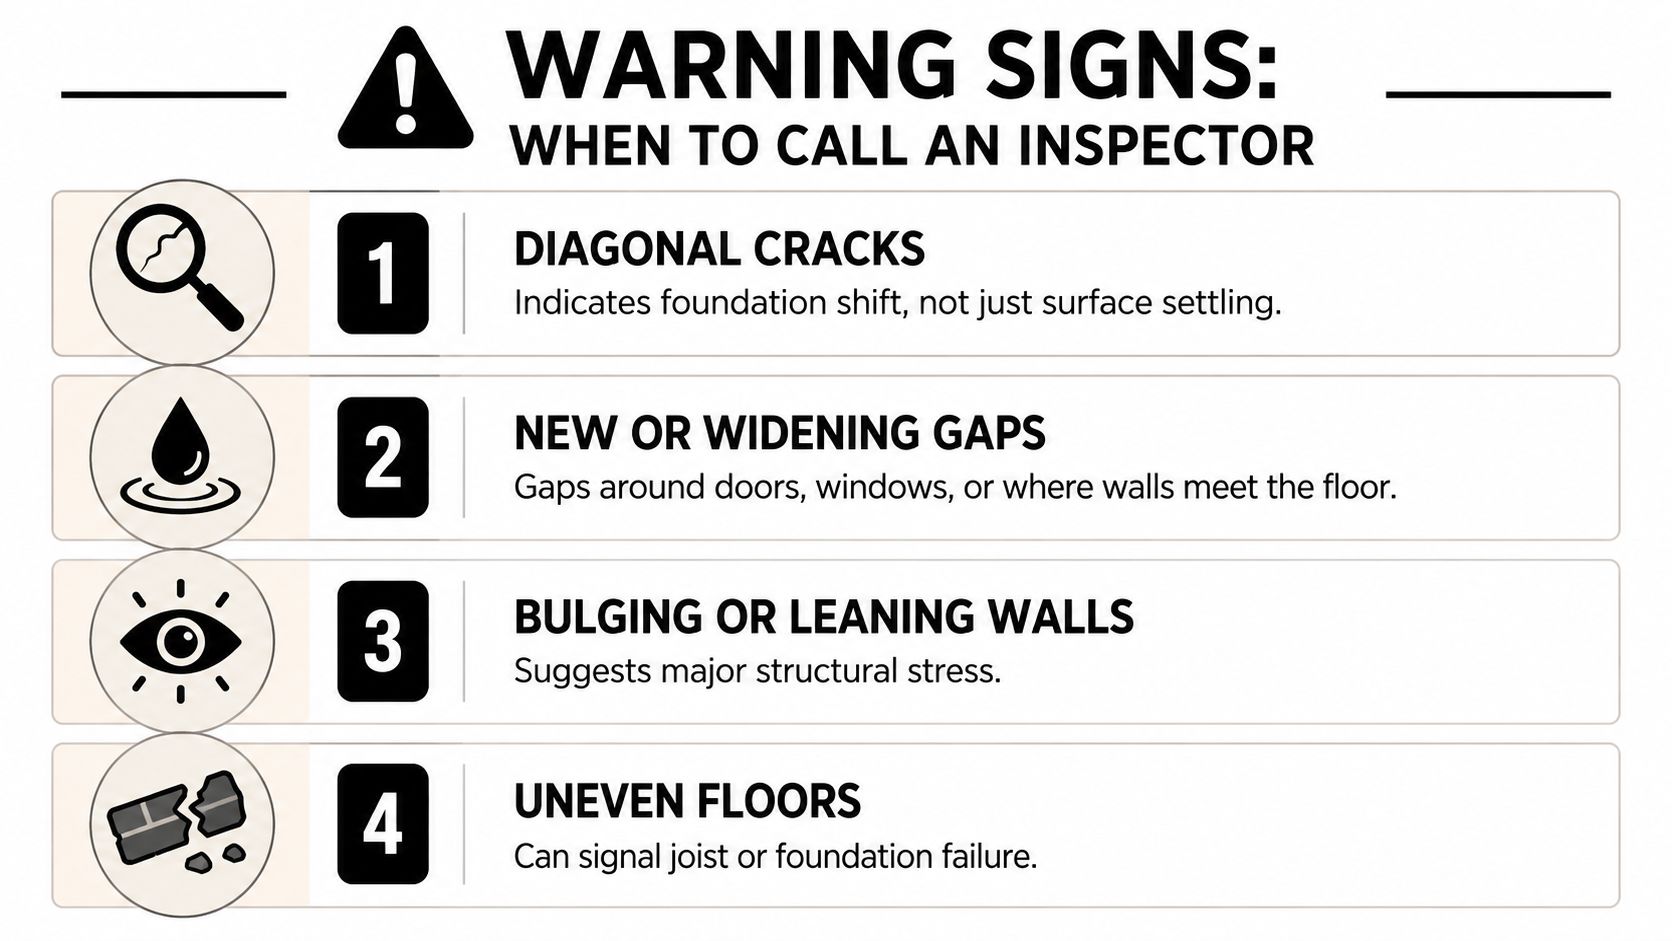
What to watch for
Diagonal cracks near windows and doors often signal movement around openings, a common response when the frame or surrounding structure shifts. Stair-step cracking in masonry can point to foundation movement or support movement. Sagging roof lines, bowing basement walls, and uneven floors deserve faster attention because they suggest trouble in the building's main load-bearing system.
Small cracks get dismissed too quickly. When a crack sits in a spot that lines up with the load path, or when an opening changes after a storm, flood, or shifting soil, the location matters as much as the size. A crack that stays unchanged and a crack that grows point to different underlying conditions.
For a plain-language example of how hidden moisture can complicate structural damage, homeowners dealing with persistent dampness may also want to find hidden leaks in Brisbane, because repeated wetting can turn a surface issue into deterioration behind finishes.
What the thresholds mean
Inspection forms often classify crack width as hairline if it's barely visible, fine if it's under 1 mm, medium at 1 to 2 mm, and wide if it's over 2 mm (ICC inspection form). That is not a magic rule, but it gives homeowners, contractors, adjusters, and engineers a shared way to compare conditions over time.
The useful part is reading width, pattern, and location together. A fine crack in a finish layer may be cosmetic. A medium crack that follows a beam-to-column connection, or a wide crack that returns after repair, deserves a closer look. If movement shows up in multiple places, the chance of a structural issue rises.
For claims in Oregon and Washington, the report language can shape the file as much as the repair estimate. A clear description of whether damage is active, stable, or tied to a specific event helps an adjuster decide what belongs in the settlement discussion, and the foundation crack coverage guidance for homeowners can help owners understand why that wording matters.
Severity Triage, Crack Classification, and Trend Documentation
A single photo can start a claim, but a photo series can prove a pattern. That's why severity triage matters. Inspectors don't just ask whether a crack exists, they ask how wide it is, where it sits, whether it changes, and what other signs of movement accompany it.
Crack width reference
| Category | Width | Typical Response |
|---|---|---|
| Hairline | Barely discernible | Monitor and re-photograph |
| Fine | Less than 1 mm | Compare over time, document carefully |
| Medium | 1 to 2 mm | Consider engineering review if pattern or location is concerning |
| Wide | Over 2 mm | Formal structural review is often warranted |
That table is useful because it gives you a common language with contractors, adjusters, and engineers. It doesn't replace judgment, but it does keep people from talking past each other.
What else gets documented
The visible crack is only one clue. Inspectors are also told to record settlement, bulging, deflection, spalling, moisture penetration, and rebar corrosion because those conditions can signal loss of section, reinforcement damage, or foundation movement. When those signs show up together, the issue is usually more than a cosmetic flaw.
Trend documentation is where homeowners can help themselves. Take repeat photos from the same angle, with the same object or measurement reference in frame, so future comparisons are meaningful. The point is not to make the damage look dramatic. The point is to show whether the condition is active, stable, or getting worse.
Good evidence beats a strong opinion. If the insurer can see the crack widening, the floor sloping, or the gap changing shape, the file gets much harder to minimize.
For coverage questions tied to these patterns, some owners also review whether homeowners insurance covers foundation cracks before they decide how aggressively to document the loss.
Documenting Damage When Access Is Limited or Unsafe
After fire, flood, or a partial collapse, some areas cannot be entered safely. Inspection notes have to account for that reality, because a file that just says “not visible” or “not accessible” can give an insurer room to narrow the claim. The better response is to document the barrier itself and show what can still be learned from the outside.
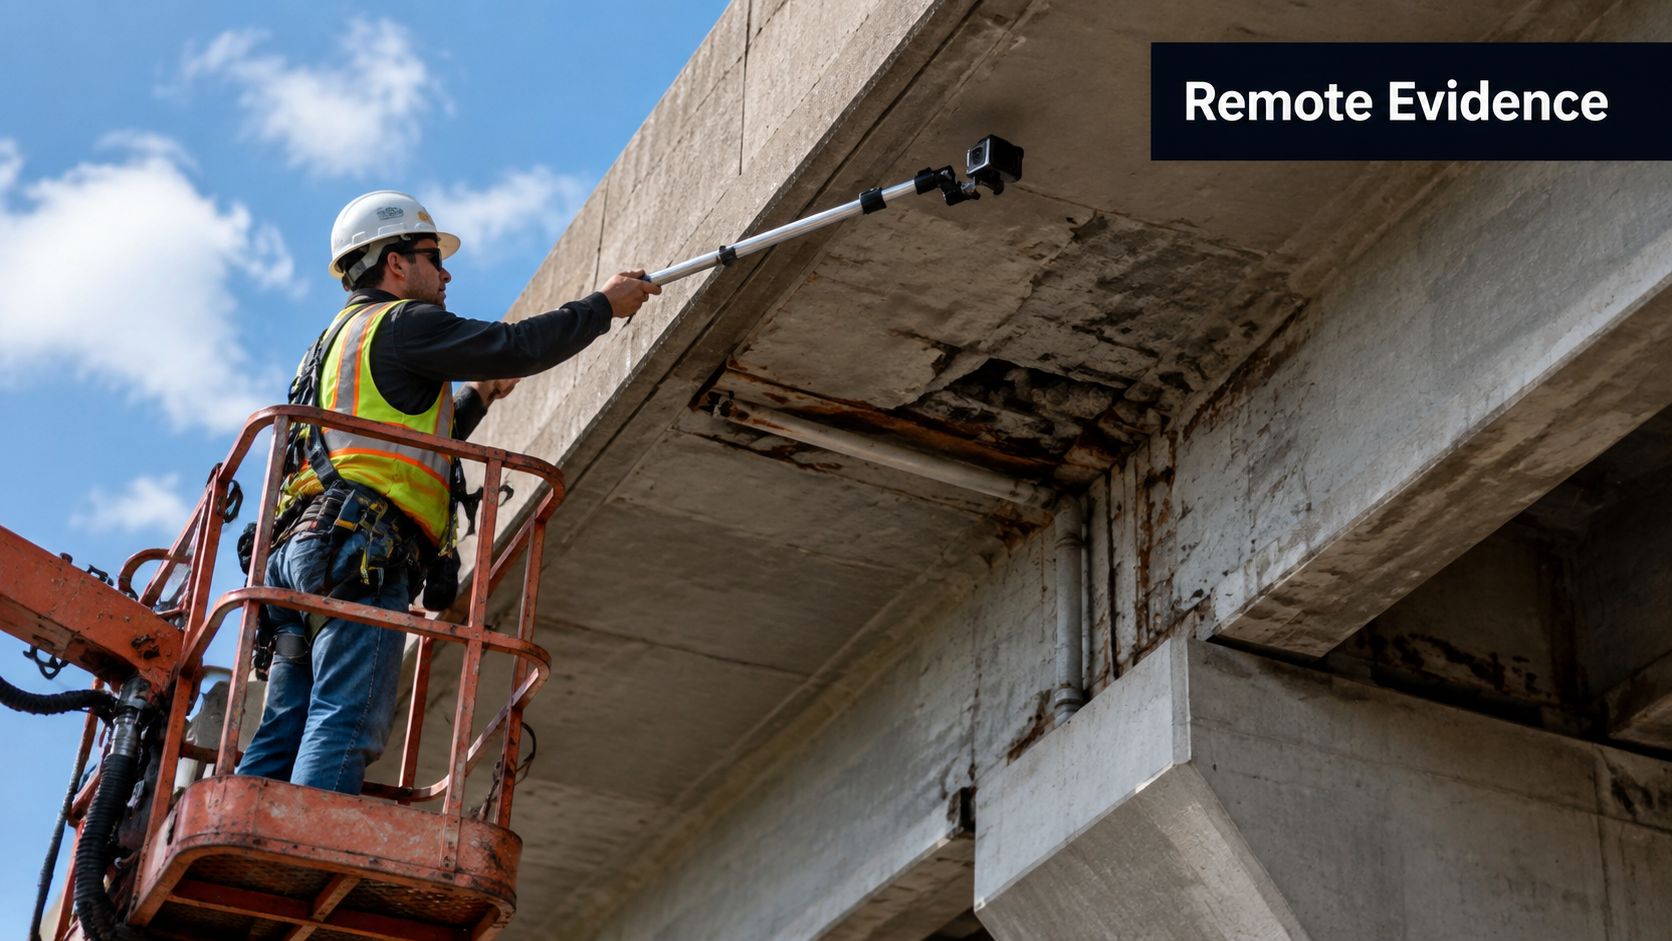
Safer ways to build the record
Federal bridge guidance says damage inspection should cover all elements and attachments at a minimum 25-ft distance around the damaged area and follow the load path to the ground (EERI field guide). That idea carries over well to property losses, because a structure still has to be read as a system even when a room, attic, crawlspace, or wall cavity cannot be entered.
Perimeter photography helps. Drone images, moisture mapping, and thermal scans can also show patterns behind finishes, especially when the hidden area is unsafe. If a compartment cannot be reached, a written note explaining the access limit is better than leaving the file silent. Silence gives the carrier more room to question what happened later.
When to ask for a second look
If the first inspection left gaps, ask for a second-pass inspection from a structural specialist and put the request in writing. Name the exact area that could not be entered, explain what blocked access, and list the evidence already gathered from the perimeter. That gives the reviewer a clear record to work from instead of forcing them to guess whether the issue was minor.
For roof-related losses, a drone roof inspection can document conditions that are dangerous to reach by ladder or walkway. The goal is preserving evidence before repairs, weather, or cleanup erase it.
Document the limitation itself. If a room is unsafe, write that down. If a section of framing cannot be reached, say so. The claim file should show what was seen, what was not, and why.
Insurance Claims, Public Adjusters, and When to Bring in Help
A structurally sound report can still lead to a weak settlement if the file is disorganized, incomplete, or written in a way that underplays the scope. Insurers use inspection reports to decide what they'll pay for, what they'll question, and what they'll label as maintenance. That means presentation matters almost as much as the underlying facts.
Why claim files get minimized
One common mistake is assuming the insurer's adjuster is a neutral evaluator. Another is assuming small visible cracks don't matter unless they're dramatic. Both ideas can hurt a claim, because the carrier is usually looking at the report through the lens of repair cost and coverage position, not the owner's full restoration need.
That's where a licensed public adjuster changes the conversation. A public adjuster reads the same inspection findings from the policyholder's side, translates technical damage into claim language, and pushes for a scope that matches the actual loss. NW Claims Management offers that kind of advocacy through its licensed public adjuster services for property damage claims.
What to ask for early
Ask for clear photographs, written access limitations, measurement notes, and any engineering language that identifies mechanism and severity. Then ask who is responsible for turning that documentation into the repair estimate. If the answer is vague, the claim may already be drifting toward under-scoping.
NW Claims Management is a licensed public adjusting firm based in Portland that works on Oregon and Washington property claims, including residential, commercial, and nonprofit losses. The value in that role is practical, not cosmetic. Someone has to line up the inspection evidence with the policy, the estimate, and the proof needed for settlement.
Oregon and Washington Rules and When to Seek Help
A structural report only helps a claim if it reads like proof, not just observation. Oregon and Washington carriers both expect damage documentation to be clear, supportable, and tied to the loss, because an unclear file quickly turns into a fight over visibility, cause, or whether the damage was already there. In claims work, the question is not only what broke. It is what the inspection record can support.
What policyholders should keep in mind
Public adjusters in both states work under state licensing rules, and contingency-based representation is a common structure for claim advocacy. For a homeowner or business owner, that usually means the advocate is paid from the recovery, so the file has to be built carefully from the start. A claim file works like a chain, and every link matters, because weak photos or vague notes give the insurer room to narrow the loss.
Proof-of-loss timing and insurer requests can also shift the balance in the file. If the carrier asks for more detail, it helps to have inspection photos, access notes, trend photos, and written observations ready before the back-and-forth begins. That matters most in structural losses, where an insurer may try to split visible finish damage from the deeper repair work that supports it.
When to call for help
Call early if the damage involves framing, foundation movement, repeated cracking, or a report that does not explain the mechanism well. Call sooner if access was limited and the first reviewer did not document that limitation. In those situations, the inspection record may be too thin to show the full loss, even if the damage itself is real.
A free claim evaluation from NW Claims Management can help you judge whether the inspection file is strong enough or whether it needs more support before you sign off on a settlement. If you are in Oregon or Washington and trying to turn a structural report into a fair claim outcome, that review can identify what is missing and show how the inspection evidence lines up with the claim.