You can be standing in the driveway right now, staring at a roof leak, a fire room, or a flooded hallway, and the first instinct is usually to start cleaning. Don't. The first hour after property damage is where claims get helped or hurt, because what gets photographed, moved, thrown out, or overwritten often becomes the difference between a clean file and a fight with the insurer.
The First 48 Hours After Property Damage
A kitchen fire in Portland leaves the cabinets coated in soot, the ceiling stained, and the smell hanging in the air. A flooded basement in Tacoma leaves boxes collapsing, carpet swelling, and a sump pump that may or may not still be working. In both cases, the pressure is the same, protect the property, keep the family or staff safe, and make the insurer believe the story you'll later have to prove.
That's why evidence preservation starts before the claim form. The early choices are simple on paper and messy in real life. If the structure is unstable, stay out. If water is still entering, stop the source if you can do it safely, then document the condition before anyone changes it. If you can't make a safe call, wait for emergency responders, the utility company, or a qualified mitigation crew. A good guide to evidence preservation says the same thing in the digital context, preserve the state before it changes, because once the scene changes, so does the proof.
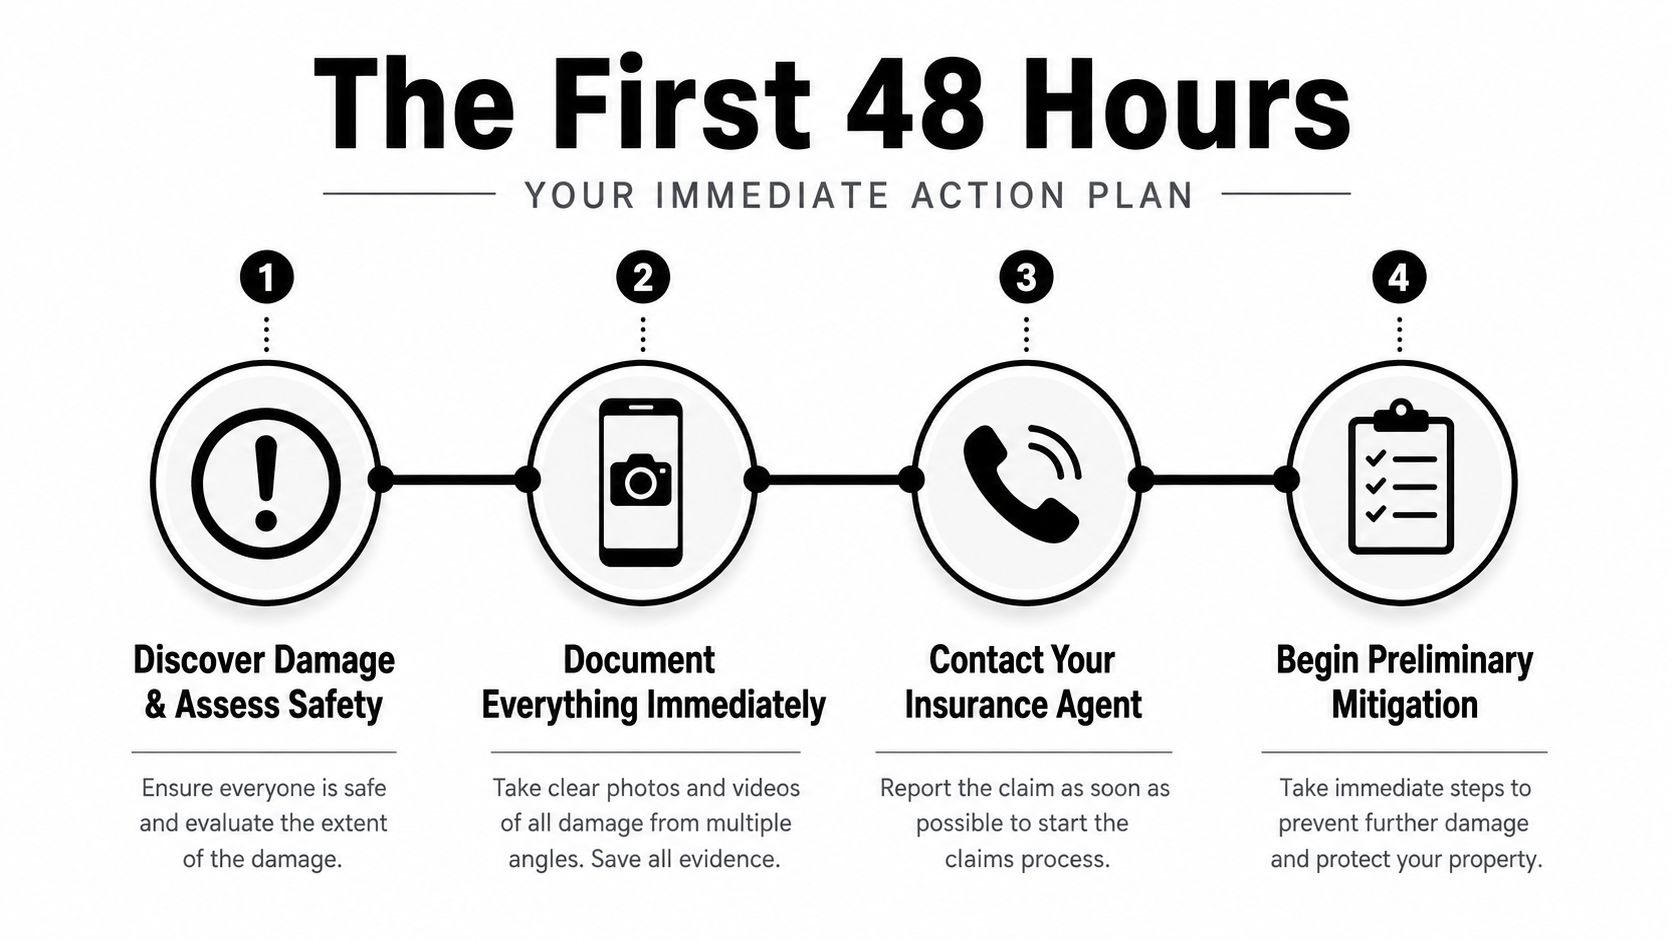
Practical rule: the scene gets documented before it gets improved. Insurers challenge cleanup that happens too early because they can't see the original condition anymore.
The first 48 hours are also when people accidentally delete their own claim file. A homeowner clears debris before photos are taken. A nonprofit director discards soaked boxes to “make room.” A manager lets a contractor haul away damaged items without writing down what was removed. Those moves feel responsible in the moment, but they remove the very evidence the adjuster needs to verify scope, source, and severity.
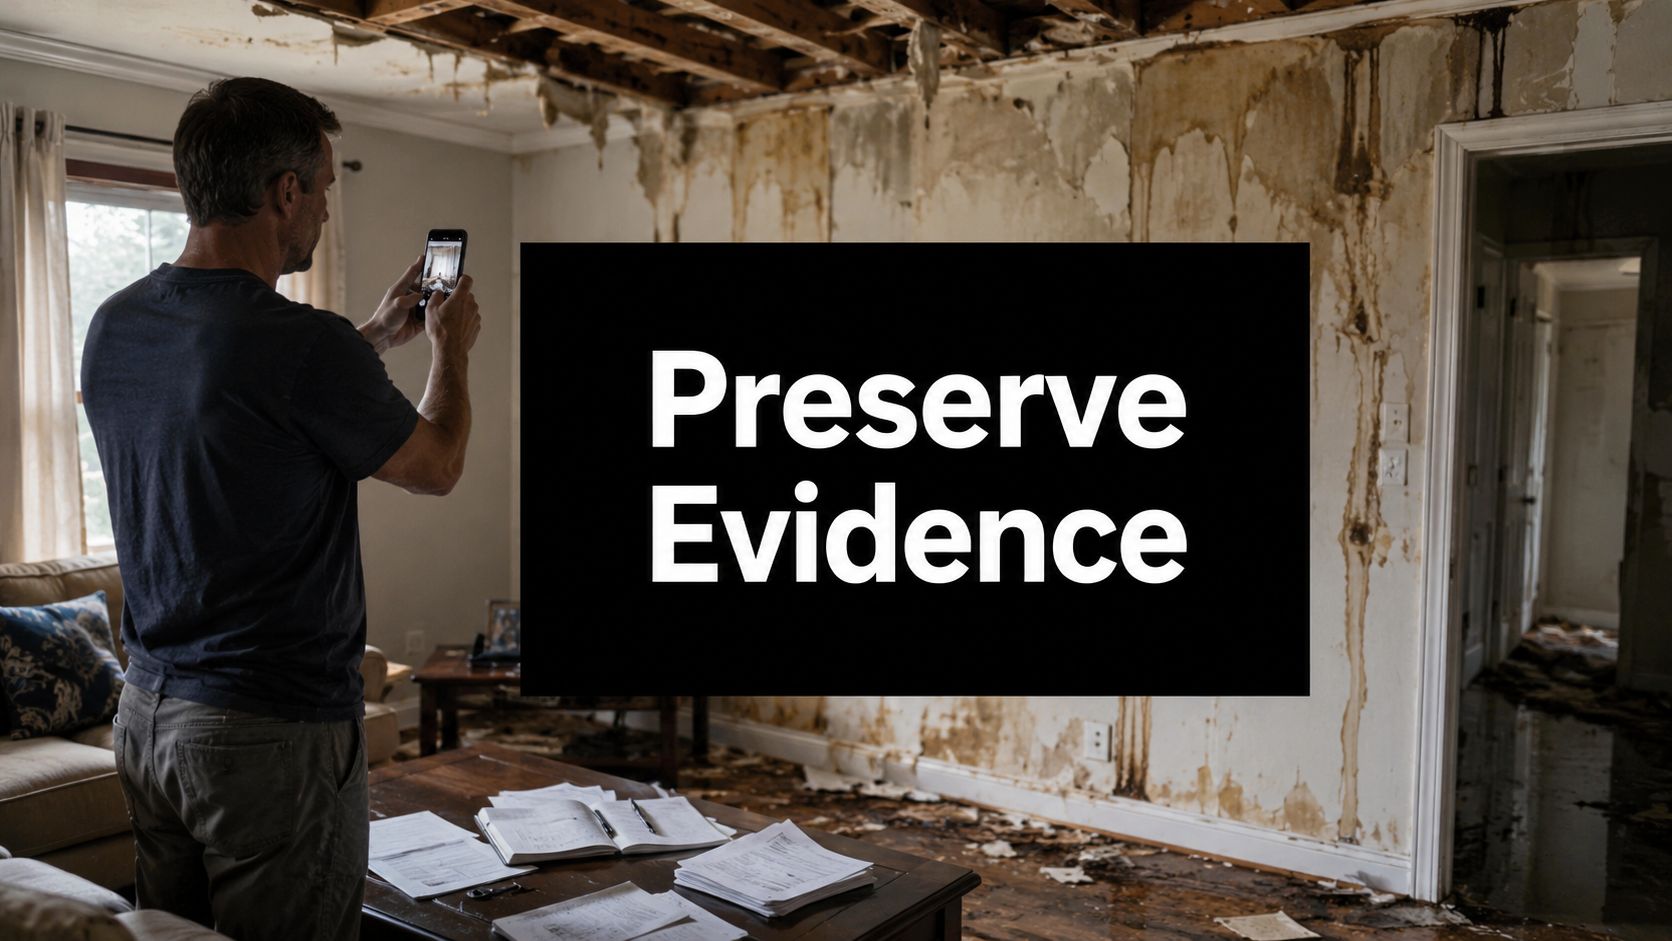
What works is boring, disciplined, and fast. Take wide shots first, then closer shots, and keep the original state visible in at least some images. Leave damaged items in place until you've documented them unless they create an immediate safety hazard. Make a short written note of what happened, when you found it, and who has entered the property. The next six months of the claim will rest on those early minutes more than many expect.
Stabilizing the Property Without Destroying Evidence
The hard part is balancing emergency mitigation with proof. A tarp over a roof leak protects the house. Ripping out soaked drywall before anything is photographed destroys evidence. That's the line insurers and restorers don't always explain well, and it's where many policyholders lose ground.
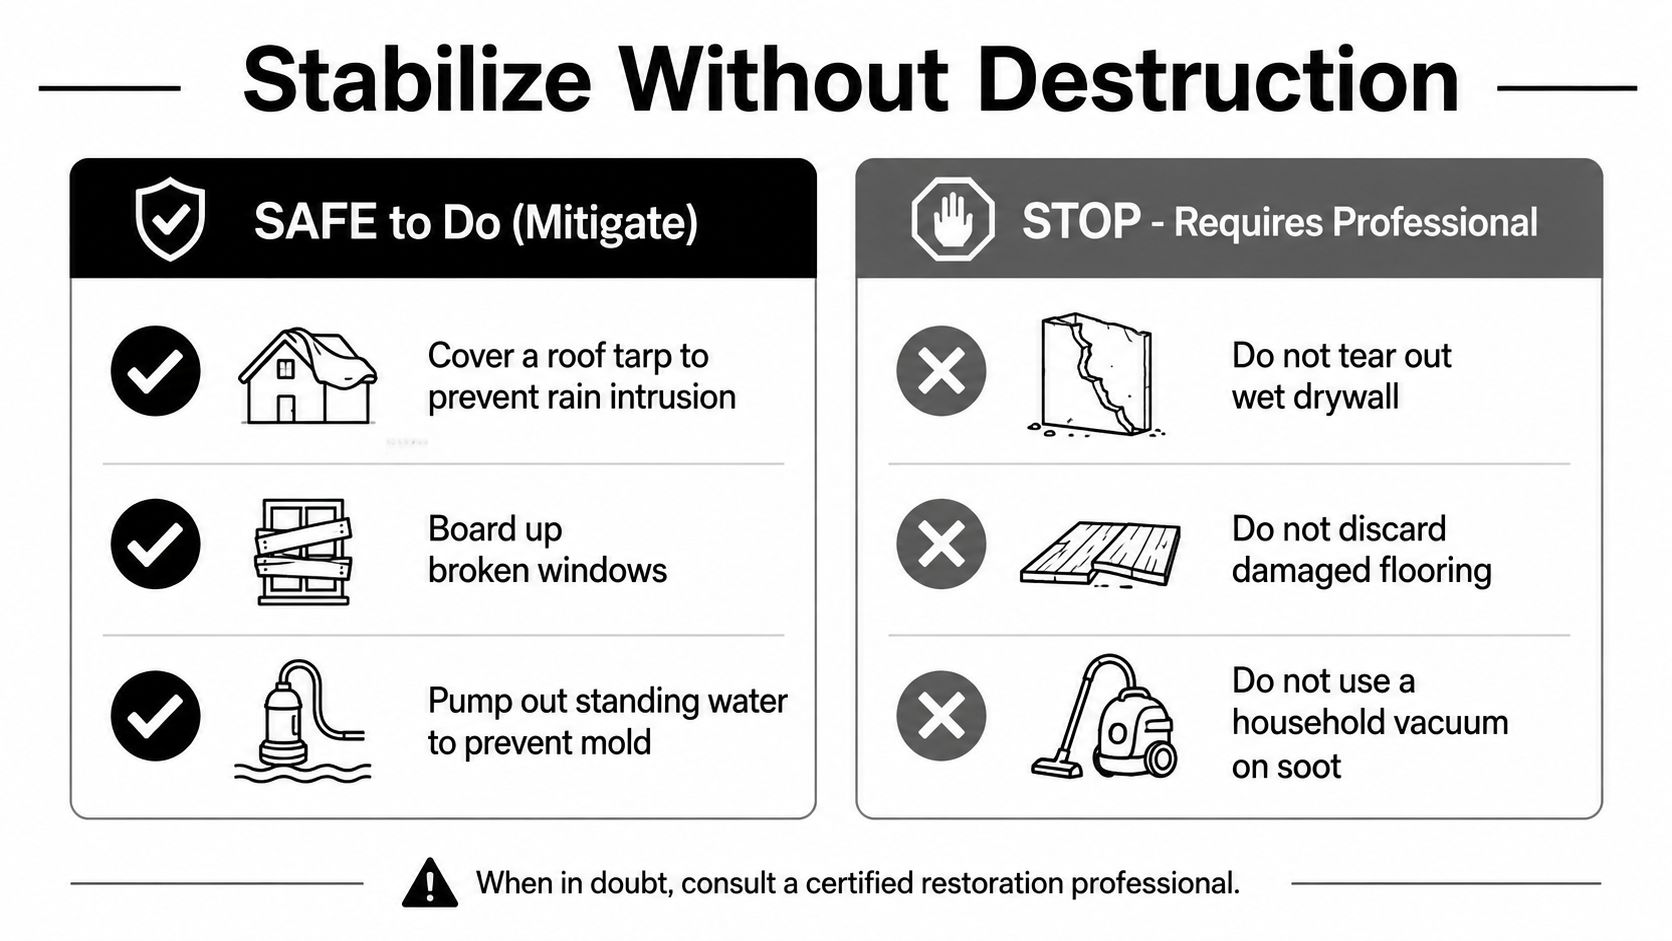
Mitigate first, but document the condition first
A roof tarp, boarded windows, or pumping standing water can all be legitimate emergency steps. The key is sequencing. Photograph or video the damage before the mitigation begins, then record the mitigation work as it happens so the claim file shows both the loss and the effort to prevent more loss. Keep receipts, invoices, and contractor notes because those records show what was done, by whom, and why.
If a restoration contractor wants to start demolition immediately, slow it down unless there's an obvious safety risk. Ask what needs approval before removal and what can wait until the adjuster has seen it. If you need a structural opinion, keep the inspection tied to the damaged condition rather than to a cleaned-up space, and use a resource like this structural damage inspection guide to understand why those early observations matter.
What to refuse when someone starts tossing materials
Damaged flooring, wet drywall, charred contents, and broken fixtures often look like trash to a crew moving quickly. They're not trash until the file is complete. If an item is likely part of the proof of loss, keep it until it's photographed, labeled, and logged. If moisture is present, don't seal it in a way that traps water and accelerates mold. The preservation guidance for documentary and physical evidence also stresses dry, cool, secure storage and limited handling, because repeated transfers weaken provenance and can create gaps in the record.
Keep the damage in the file before you take it out of the building.
That's why the practical order matters more than the perfect checklist. Stabilize the threat. Preserve the original condition. Then let the mitigation work proceed with a paper trail that matches the property as it was found. For readers comparing next steps after the first response, a property inspection checklist can help keep the process organized without turning the scene into a cleanup project.
Documenting Physical Damage the Right Way
Bad photos don't just look sloppy, they create room for argument. I've seen claims bog down because the claimant sent twelve blurry phone shots with no room labels, while the insurer's file had cleaner notes from the field adjuster. A kitchen fire, for example, can look minor in one cropped picture and severe in a room-wide sequence that shows soot on the cabinets, the ceiling, the appliances, and the contents all at once.
Shoot for context, then proof, then detail
Start with the whole room. Stand at the doorway and take a wide shot that shows where the damage sits in relation to the rest of the space. Then move in for mid-range photos that show the affected wall, floor, cabinet run, or appliance. Finish with close-ups that capture burn marks, water lines, warped material, cracks, serial numbers, and any other identifying detail.
Video helps when the scene is complicated. Walk slowly through the room, say the room name, the date, and what happened, and let the camera capture the scale. If the property has contents claims, include appliance model tags, serial-number plates, and product labels, because those details let an adjuster connect the image to a specific item rather than to a generic category. The more organized the images are, the less room there is for the insurer to say the damage is unrelated, exaggerated, or undocumented.
Organize the file so it reads like a claim, not a camera roll
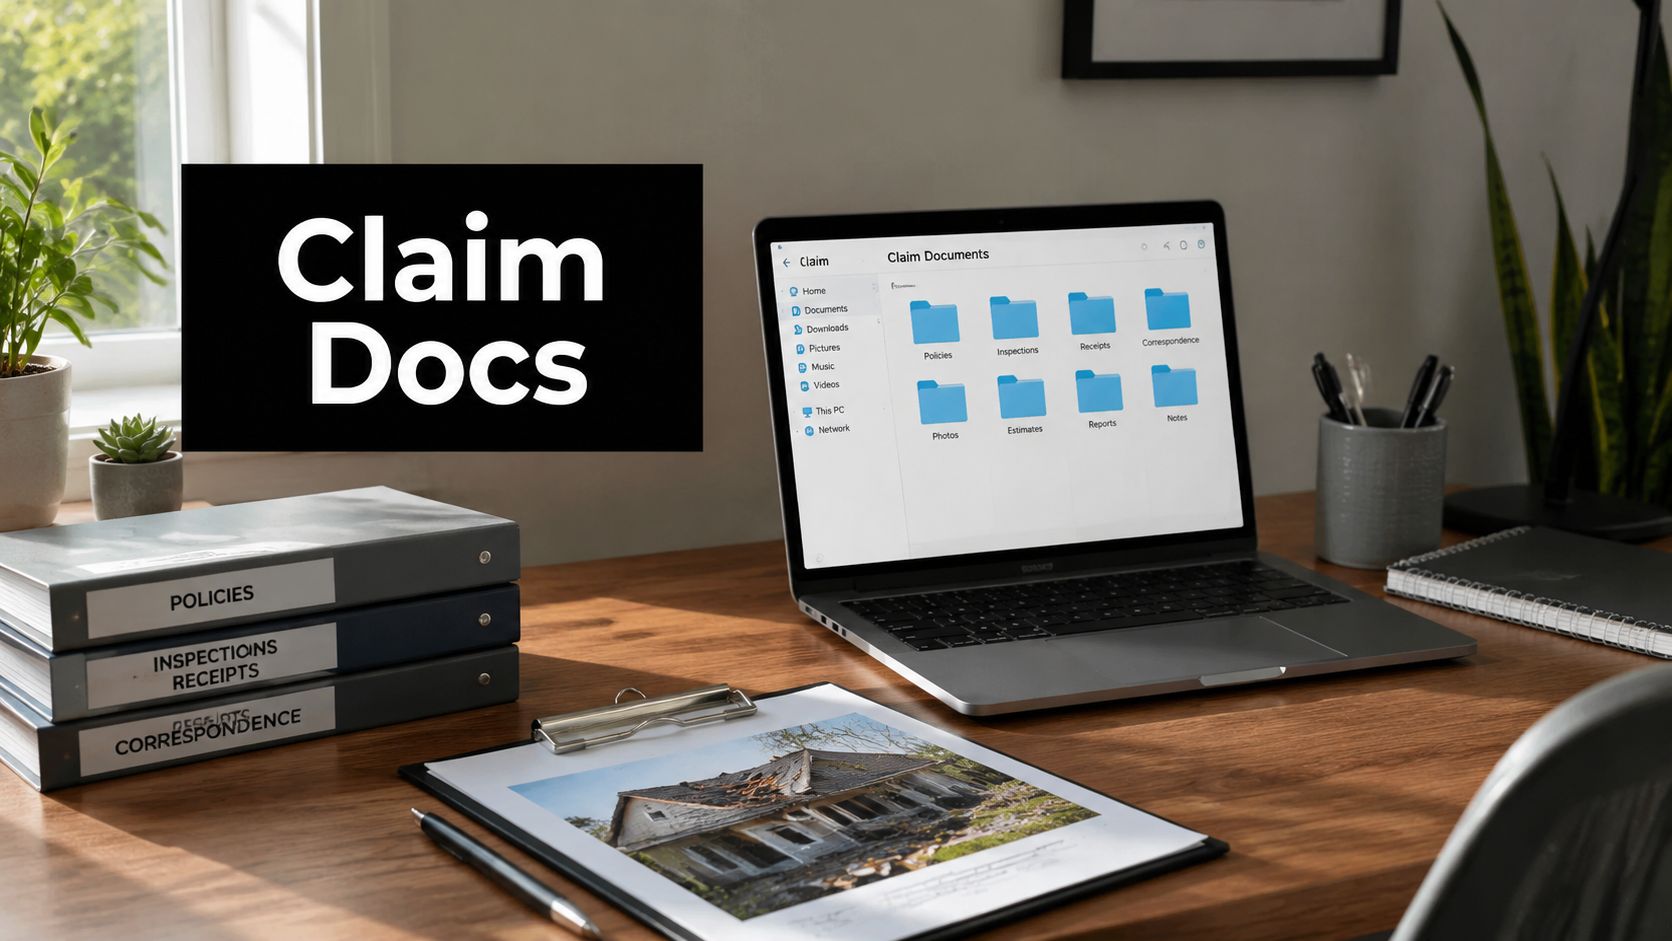
Use folders by room or by loss type. Keep the original image files, don't rename them in a way that strips their identity, and save a simple index that matches each photo to a room or item. A date-stamped note in the file is useful too, especially when the loss includes several materials that changed over time, such as smoke residue, standing water, and demolition debris.
A practical workflow looks like this:
- Room order first: document one room completely before moving to the next.
- Wide to close: preserve context before detail.
- Label as you go: note room name, item name, and visible condition.
- Save originals: keep the unedited file set for the claim record.
For a deeper look at how insurers and inspectors structure the process, this claim processing steps resource pairs well with a well-built photo set because it shows why organization matters once the adjuster starts reviewing the file.
A clean, consistent record doesn't need to be cinematic. It needs to be believable, repeatable, and easy to match to the loss. That's what turns a pile of photos into evidence.
Capturing Digital Evidence Before It Disappears
The missing part of most property-loss files is digital. Texts with the contractor. Doorbell video from the hour the fire started. Smart thermostat data that shows the house dropped below normal temperatures. Cloud backups of photos taken before cleanup began. These are not side notes anymore, they're often the backbone of the timeline.
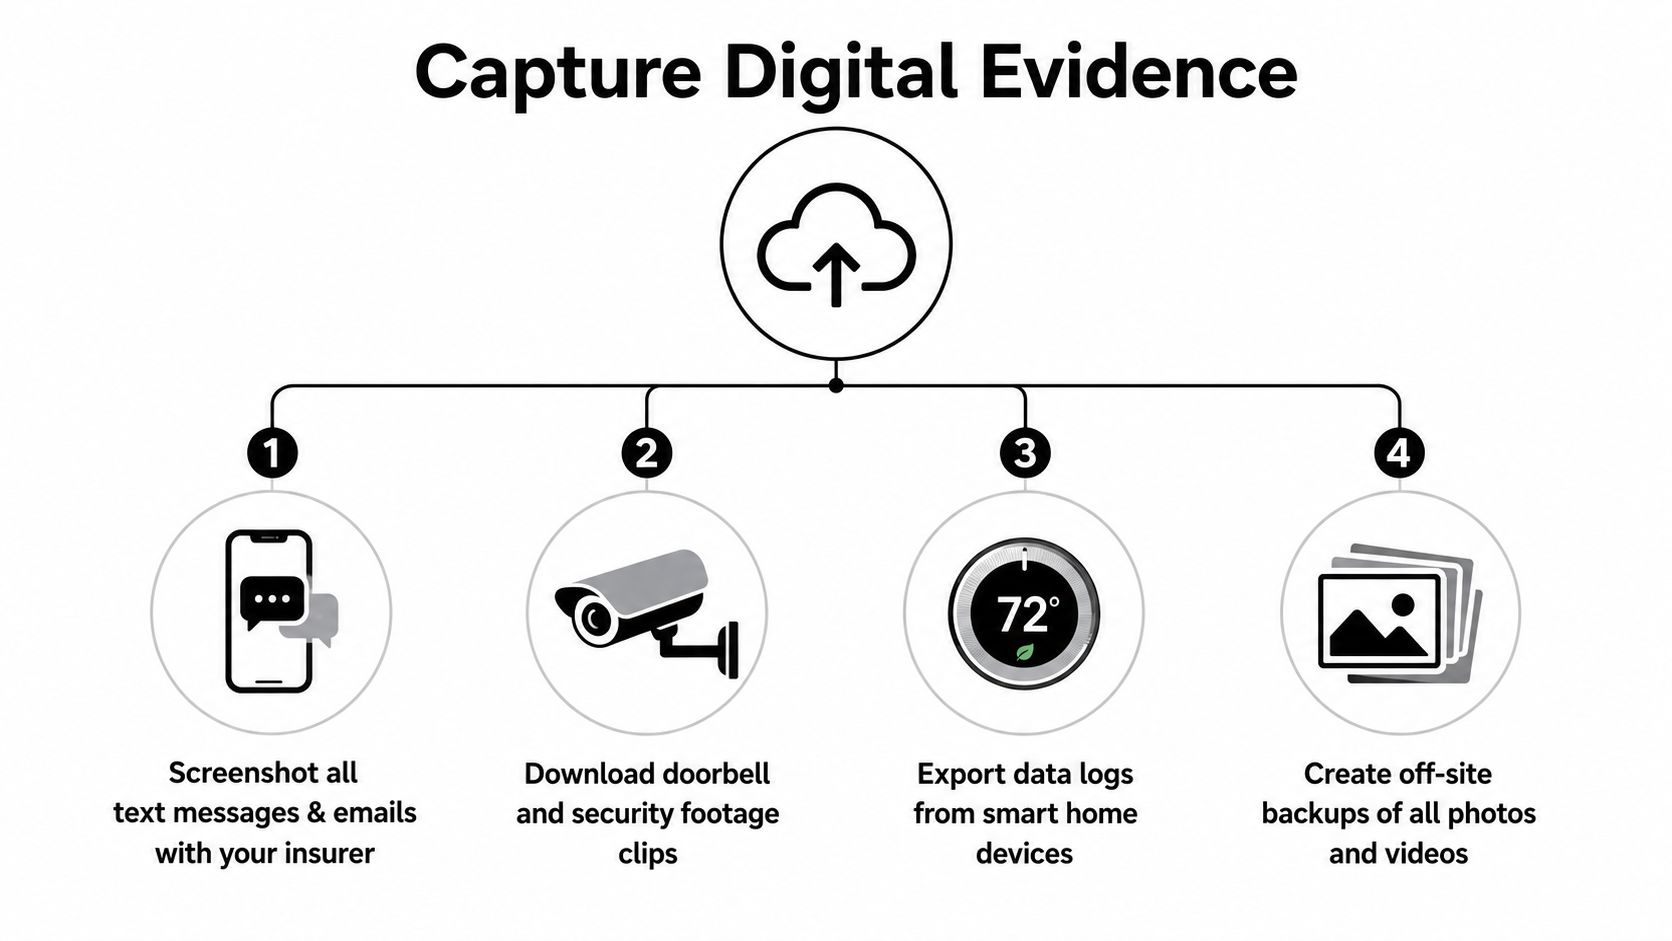
Preserve the original digital trail, not just screenshots
Screenshots are useful, but they're not the whole record. Keep the underlying files whenever possible, and export from the source platform in the format it provides rather than copying and pasting into a notes app. When you're dealing with camera systems, it helps to think about storage before the clips disappear, and this how to choose camera storage guide is a helpful reference point for understanding why local and cloud retention behave differently.
The practical aim is simple. Preserve texts, emails, app alerts, security clips, smart-device logs, and cloud-stored images before deletion rules or sync settings overwrite them. NIST's digital evidence guidance notes that retention periods often need to be set when no statute applies, and that media degradation, format changes, and access restrictions complicate long-term storage, so ad hoc saving is rarely enough. In a claim, that matters because a message thread or camera clip can be the thing that proves timing, notice, or cause.
Keep devices and accounts from erasing your proof
If a device is still powered on and actively syncing, don't casually start deleting files or swapping accounts. That can trigger overwrites, removal from backups, or loss of timestamps. If a phone is part of the evidence, isolate it and document its condition before altering settings. If the content lives in a cloud account, download the export and keep the original account intact until you've confirmed the file set is preserved.
That's also where people get tripped up with phones and cloud accounts outside the home. The evidence may not be sitting in a cabinet or on a hard drive. It may be on an iPhone backup, a Google Photos archive, a Ring clip, or a messaging app tied to a separate login. Public guidance still treats preservation like a physical file cabinet problem, but claims now live in app histories and cloud records as often as they do in a hall closet.
For a claim workflow that expects digital proof to be part of the packet, this claim processing steps page is a useful complement because it shows where those exports usually fit once the insurer starts reviewing the loss file.
If the digital trail tells the story, treat it like evidence, not convenience data. Save it early, save it off-site, and keep the export clean.
Building a Chain of Custody You Can Defend
A chain of custody is just a record of who handled the evidence, when, where, and why. In a claim dispute, that record matters because the insurer may not challenge the photo itself, they may challenge whether the item was altered, moved, or mislabeled after the loss. The cleaner the transfer history, the harder it is to argue the proof got contaminated.
What the log should contain
The best logs are short and consistent. Don't wait until the end of the week and try to reconstruct the path from memory. Write it down at the moment the item is collected, transferred, stored, or delivered. That contemporaneous entry is stronger than a narrative built later from half-remembered events.
| Chain of Custody Log Fields | Purpose | Example Entry |
|---|---|---|
| Item description | Identifies the evidence | Water-damaged oak cabinet door |
| Date and time collected | Shows when preservation began | 2026-08-04, 9:15 a.m. |
| Location found | Links item to the loss site | Kitchen, north wall |
| Collector name | Identifies who handled it first | J. Smith |
| Transfer history | Tracks each handoff | Collected by adjuster, stored by contractor |
| Storage location | Shows where it was kept | Locked dry storage room |
| Condition notes | Records visible state | Wet, warped, soot-stained |
| Final disposition | Shows what happened later | Held for insurer inspection |
For a more formal framework, the Reworx Recycling chain of custody guide is a good companion because it reinforces the same principle, document every transfer so the history stays defensible.
Store the evidence like you expect someone to inspect it
Packaging and storage can make or break the file. Box items, lock them away, and keep them in a dry, cool, secure place. Don't seal moist materials too early, because trapped moisture raises mold risk and can damage trace evidence. Minimize handlers, because every extra person creates another transfer point the insurer can question.
The chain doesn't need to be fancy. It needs to be complete. If a contractor moved the item, write it down. If a storage facility received it, write it down. If the insurer requested inspection, write that down too. That simple discipline often carries more weight than a long explanation with no dates and no names.
For a deeper forensic perspective on why that record matters when the file gets challenged, this forensic investigation resource helps connect the preservation step to how the claim is later tested.
Common Mistakes That Quietly Cost Policyholders
Most claim damage doesn't come from fraud. It comes from ordinary decisions made in a hurry. A homeowner cleans soot off a wall before the adjuster arrives. A business owner throws away ruined inventory because it smells. A nonprofit signs the first release because someone says it will speed things up. Each action feels practical until the insurer says there's not enough proof.
The fastest way to avoid those traps is to treat the loss scene like a record, not a mess. If you clean before documenting, the insurer gets to argue over what was really there. If you post the loss on social media, you create side commentary that can be pulled into the file. If you wait too long to report, the claim starts with a delay problem instead of a damage problem.
- Premature cleanup: A family wipes smoke residue off the walls before pictures are taken, then can't prove the extent of the soot. Quick fix, photograph first, clean second.
- Throwing away damaged items: A store bins wet product before the adjuster inventories it. Quick fix, tag and store what can be kept until it's logged.
- Signing the first release: A claimant accepts an early check without understanding what rights were waived. Quick fix, read every release slowly and ask what it closes.
- Posting online: A manager shares a dramatic loss photo with comments that don't match the formal claim. Quick fix, keep the public story off the claim file.
- Using the wrong contractor: Someone hires a crew with no documentation discipline, then loses track of what was removed. Quick fix, insist on written scope notes and receipts.
- Waiting too long to report: A delay gives the insurer room to question causation and severity. Quick fix, notify promptly and keep the first notice in writing.
Each of those mistakes is avoidable, but only if the file gets treated like evidence from the start. The insurer is looking for consistency. When the photos, receipts, notes, and damaged materials all match, the claim has a much stronger footing.
When to Bring in a Public Adjuster
A public adjuster is hired by the policyholder, not the insurer. That distinction matters when the claim is messy, the loss is large, or the file needs someone who knows how to turn evidence into a settlement position the carrier can't casually dismiss. An insurer's adjuster works for the insurer's process. A public adjuster works to document and present the loss for the policyholder.

The triggers that usually mean it's time
Denied claims, underpaid estimates, extensive fire or water damage, and commercial or nonprofit losses tend to need more than a quick back-and-forth with an adjuster. So do situations where the evidence is spread across a property, a phone, a cloud account, and a contractor's work order. In those files, preservation and negotiation are tied together, because the quality of the evidence directly affects the settlement room.
A public adjuster is especially useful when the loss includes structural damage, multiple contents categories, or a long restoration timeline. The file has to be built, not just reported. That means photos, digital records, chain of custody, contractor notes, and policy language all need to line up. When they don't, the insurer usually benefits from the confusion.
What the engagement should feel like
A strong public adjusting process starts with a free claim evaluation, then moves into documentation, damage assessment, negotiation, and settlement follow-through. Many firms work on a contingency basis, so the representation is tied to claim recovery rather than hourly billing. The practical value is coordination, someone has to keep the records straight while the property is drying, being repaired, or being inspected.
For a direct look at the decision point, this when to hire a public adjuster page is useful because it frames the moment when a file stops being routine and starts needing representation.
The bigger lesson is simple. Evidence preservation isn't only about saving items. It's about controlling who can challenge them, who can explain them, and who can translate them into a fair claim outcome. Once the file is already disputed, the cost of missing documentation is hard to recover.
If you're dealing with fire, flood, storm, or vandalism damage in Oregon or Washington, take the preservation step seriously before more of the scene changes. Visit NW Claims Management to request a free claim evaluation, get help organizing the evidence, and have an experienced public adjuster handle the claim work while you focus on stabilizing the property.