Your roof is open, the contractor is already talking about permits, and the first insurance estimate looks fine until the city says the damaged parts have to be rebuilt to current code. That's the moment a lot of owners in Oregon and Washington realize the policy isn't just paying for what broke, it also has to pay for what the law now requires, and that second piece is where code upgrade coverage either saves the rebuild budget or leaves a painful gap.
For many first-time claimants, the surprise isn't the fire, storm, or water damage. It's the paperwork that follows, the permit reviewer, the inspector, and the code edition that governs the repair. A standard policy may include ordinance or law coverage only if you added it, and the limit is often written as a percentage of dwelling coverage, commonly 10% or 25% according to a major insurer explanation of the coverage structure (Progressive on ordinance or law coverage). That's why the line item looks small at first and then becomes the difference between a clean rebuild and money coming out of pocket.
When the Rebuild Costs More Than the Policy Expected
A Portland homeowner calls after a kitchen fire and says the insurance estimate seems close enough. Then the contractor opens the walls, the electrician flags an outdated panel, and the permit reviewer says the repair has to meet current code before the city will sign off. The homeowner checks the declarations page and sees a 10% ordinance-or-law limit, which sounds comfortable until the code-related line items start piling up.
That is the part many owners miss. Code requirements aren't optional after a covered loss once the local jurisdiction says the damaged work must be brought up to today's standard. The insurer is not only paying for new drywall and cabinets. It may also have to pay for demolition, debris removal, and the added cost of rebuilding to current code, depending on the policy language and how the city or county enforces the repair (Progressive, Rimkus on building code upgrade coverage).
Practical rule: if the city will not issue final approval until the work matches current code, the code portion of the claim stops being abstract.
Owners in Oregon and Washington should treat code upgrade coverage like part of the reconstruction budget, not a bonus feature. Local codes change, permit review varies from one jurisdiction to the next, and the claim can turn into a gap between the repair that existed before the loss and the repair the city now requires. The policy language decides whether that gap is paid by the carrier or by you.
A small limit can disappear fast. A panel upgrade, permit fees, selective demolition, and extra framing can add up before the finish work even begins. If you are already staring at a rebuild estimate that feels too low, compare the repair scope against the price pressure you are facing, especially as materials and labor shift with construction cost inflation.
There is another cost layer people often forget, the soft costs tied to the rebuild. Some owners also have to deal with architect fees, plan revisions, and financing for work that cannot start until the city is satisfied. Resources such as LendingXpress soft cost financing show why those extra expenses can matter alongside the physical repairs.
The key point is simple. The fire or storm may be the trigger, but the code upgrade is often the hidden cost driver that determines whether the recovery is complete.
Understanding Code Upgrade Coverage
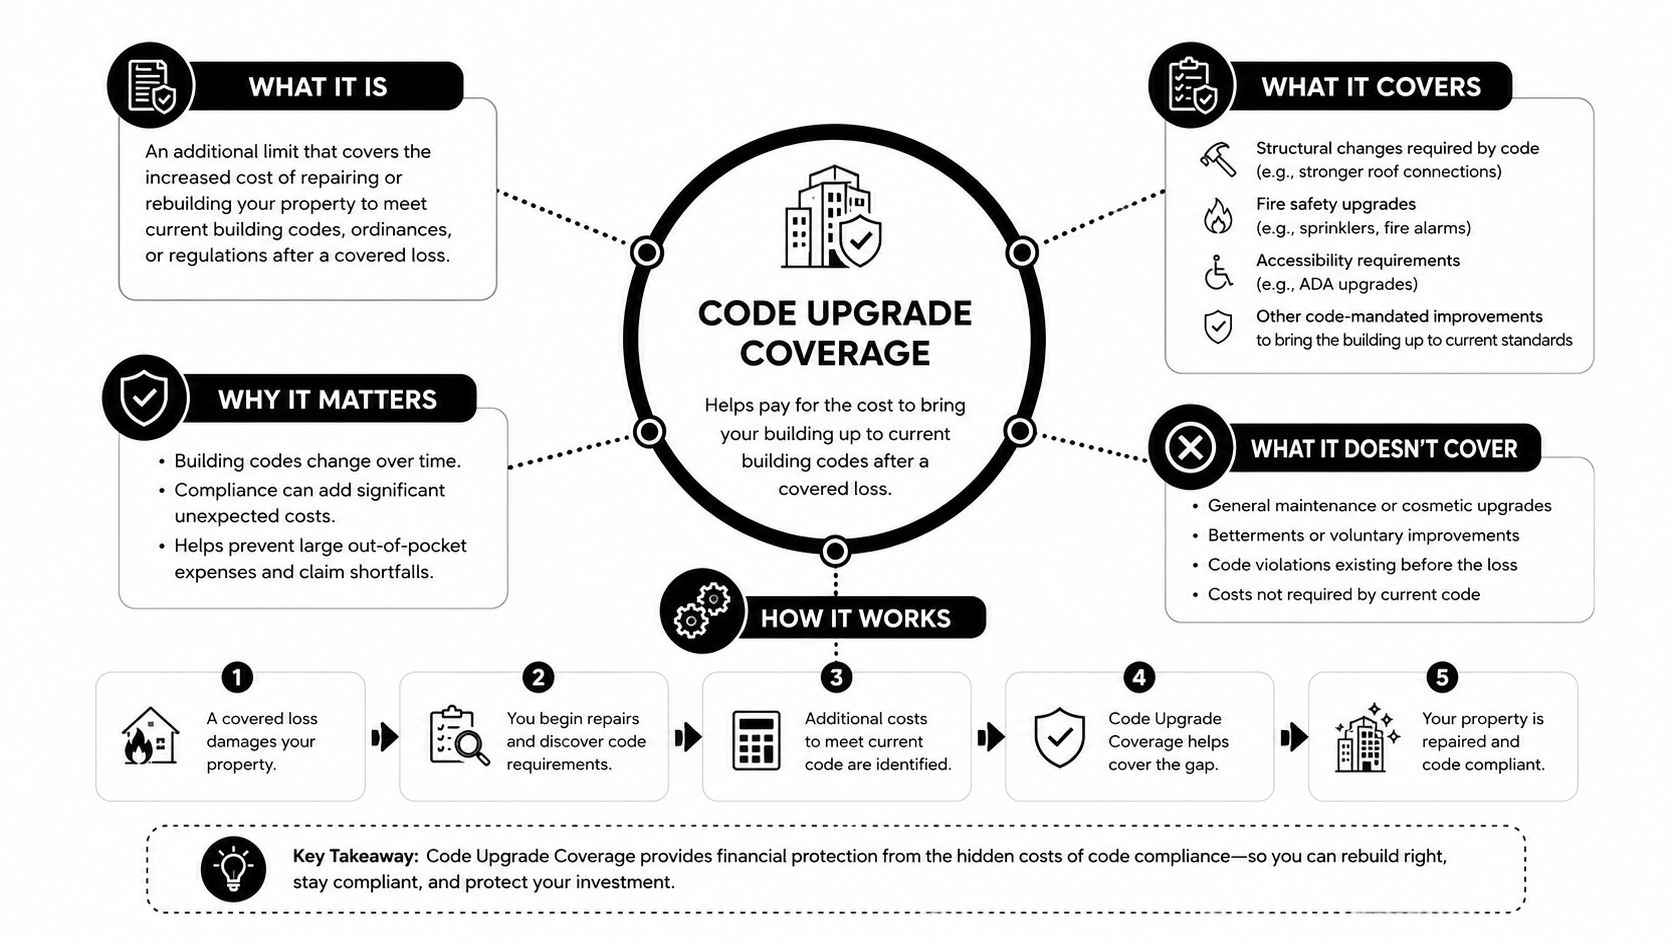
Code upgrade coverage is the part of a property policy that pays the extra cost to bring damaged property into compliance with current building laws after a covered loss. It works like a bridge between what was built before the loss and what the city will allow during the rebuild. The damaged room may be the same room, but once the permit desk and inspector get involved, the repair has to meet today's code, not yesterday's construction standard.
The three-part structure that matters
Most policy explanations break the concept into three components. First is the undamaged portion that has to come out so the damaged area can be repaired correctly. Second is demolition and debris clearance. Third is the increased cost of construction needed to satisfy current code. That structure is easy to miss when you first read the endorsement, but it is usually where the claim starts to split into separate buckets of money.
That split matters because the policy may treat each bucket differently. Technical property-insurance guidance from Rimkus explains that Coverage B and Coverage C are often scheduled as separate dollar amounts, so they are not vague extras hidden inside the dwelling limit, they are specific protections with their own limits. If the endorsement is written poorly or the limit is too small, the carrier can acknowledge the code work and still say there is not enough coverage to pay it all.
Why claimants often learn about it too late
This coverage is triggered coverage. It only comes into play after a covered loss, and that is why many Oregon and Washington owners do not study it until they are already dealing with adjusters, permit reviewers, and a contractor asking for a revised scope. The policy may sit idle for years, then one fire, storm, or plumbing loss wakes up the code language and shows the actual cost of compliance.
A simple way to separate the parts is this. Regular dwelling coverage restores the damaged property to what it was before the loss. Code upgrade coverage pays the extra amount needed to make that repair legally acceptable today. If you own an older home, a mixed-use building, or a facility with accessibility or system issues, that difference can decide whether the rebuild closes cleanly or stalls in the middle of inspection comments.
For owners who need help with the soft costs that show up during a complicated rebuild, LendingXpress soft cost financing is a useful reference point while you sort out what the insurance policy may or may not cover. For a closer look at how insured value affects what is paid, the loss valuation methods used in claims matter because the valuation approach can shape the code portion just as much as the repair scope does.
How Percentage Caps Translate Into Real Dollar Shortfalls
A percentage cap sounds tidy on paper. In practice, it's just math, and the math is where a lot of Oregon and Washington owners get underpaid. If a policy has a 10% ordinance limit on a $400,000 dwelling, the code portion is $40,000. That may sound workable until the permit plan requires electrical, structural, energy, or accessibility upgrades that exceed it.
A simple way to test your own limit
If the claim involves an older bungalow in Portland or a similarly complex property in Seattle, the code work can snowball fast. A homeowner may need removal of undamaged materials, upgraded wiring, added insulation, or other mandated work just to get a final sign-off. The issue isn't whether the policy includes an ordinance endorsement, it's whether the cap is large enough to match the rebuild.
| Estimated Code Upgrade Budget by Property Type | Typical dwelling limit | 10% cap | 25% cap | Realistic code upgrade cost |
|---|---|---|---|---|
| Single-family home | $400,000 | $40,000 | $100,000 | Often higher for older homes with electrical or seismic issues |
| Small commercial building | $800,000 | $80,000 | $200,000 | Can rise quickly when structural and accessibility code work is required |
| Nonprofit-owned facility | $1,200,000 | $120,000 | $300,000 | Often driven by scope, occupancy rules, and mission-critical rebuild needs |
The table is not a promise of any specific claim outcome. It's a reality check. The older the building, the more likely the rebuild involves hidden code issues, and the more likely a default percentage limit becomes too small for the actual scope.
Owners of historic homes, multifamily property, churches, schools, and nonprofit buildings tend to feel the gap most sharply because those structures usually carry more compliance layers. The claim may start as a standard property loss, but the final scope can turn into a code-heavy reconstruction problem.
If you're comparing claim valuations, this guide to loss valuation methods is a good companion piece because valuation and code scope are often negotiated together.
A percentage cap is only enough if the code work is light. If the city's requirements turn the repair into a rebuild, the cap can disappear fast.
Documenting and Filing the Code Portion of a Claim
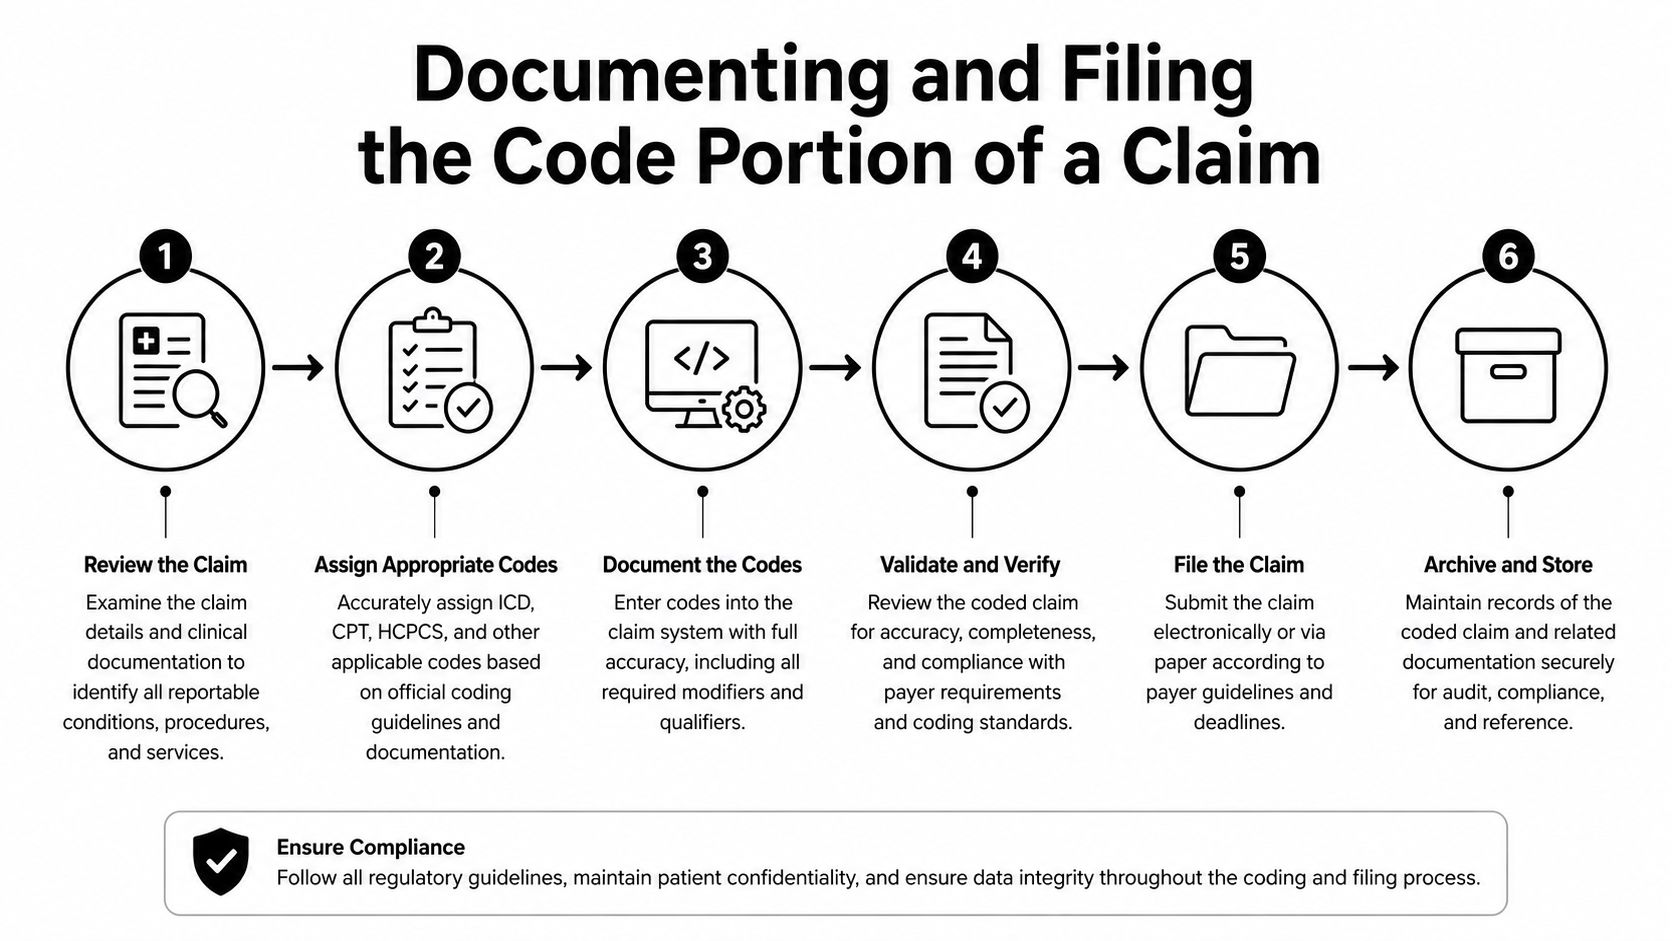
The code portion of a claim only moves when the paperwork matches the rebuild. The adjuster may first focus on burned framing, broken drywall, or wind-torn roofing, but code payment usually depends on proof that the upgrade is required by the city or county, not just suggested by a contractor. In Oregon and Washington, that often means showing how permits, inspections, and adopted code rules turn a plain repair into a regulated rebuild.
Start with the policy, then move to the code
Ask for the full policy, including the ordinance or law endorsement. Then get the currently adopted code edition for your jurisdiction and ask the building official, or the city's permit desk if that's the only practical route, what specific upgrades are being required for the damaged work. That keeps the claim tied to the rules that control the rebuild, not the rules someone assumes should apply.
A simple way to sort this out is to separate “restore the damaged item” from “meet current law.” If a wall, roof section, or mechanical system can be repaired without triggering code, that belongs in the repair estimate. If the city requires removal of undamaged material, changes to framing, upgraded electrical work, or accessibility fixes, those items belong in the code line. A $15,000 repair estimate and a $40,000 code estimate can both be correct at the same time, because they measure different parts of the job.
After that, submit a code-specific estimate alongside the general repair estimate. The code estimate should separate standard repairs from work needed to satisfy current law. If the project includes demolition of undamaged sections, revised framing, upgraded mechanical systems, or accessibility changes, those items need to appear clearly in the scope. A professional roof inspection can also help when the loss involves roofing, since inspectors can identify code-related replacement issues that are easy to miss from the ground.
Documents that usually move the claim faster
- Permit applications: They show the city is treating the work as regulated reconstruction, not cosmetic repair.
- Plan reviewer notes: These help prove which upgrades were demanded.
- Dated photos: They show the pre-loss condition and help separate old conditions from post-loss code issues.
- Contractor scope letters: They can translate field conditions into a claim-ready estimate.
- Written code citations: They reduce argument about whether the work is required.
A good habit is to ask the adjuster in writing which code edition the carrier intends to apply. That answer can change the size of the code portion of the claim, especially when the jurisdiction has updated its rules more than once over the life of the property. If the carrier wants a formal statement of what is being claimed, the proof of loss form is the document that usually organizes those figures and attachments.
If it isn't written down, the adjuster may treat it as optional.
Red Flags Insurers Use to Shrink Code Coverage
Insurers do not always deny the code portion outright. More often, they trim it through wording that sounds routine but lowers the payout. A homeowner in Oregon or Washington can see this in a permit-driven rebuild, where the cost is tied to what the city inspector requires, not just what was visible at the fire scene or roofline.
Common claim moves that deserve a closer look
One common tactic is to point to the percentage cap and stop there, without comparing that cap to the actual code cost. Another is to apply depreciation to items that are required by code, even though the code work is part of replacement, not a used-item valuation exercise. A third is to treat Coverage B as if it never existed, which can wipe out payment for the undamaged portion that has to be removed to comply.
Practical rule: ask the carrier to show the policy language that lets them reduce a code item. If they cannot point to the exact wording, the adjustment deserves a second look.
Another warning sign appears when the carrier ignores a code requirement that was not called out in the first inspection. That dispute usually turns on whether the local code has been adopted, whether it is mandatory, and whether the damaged structure must be brought into compliance as part of the rebuild. The Property Insurance Coverage Law Blog has discussed that enforcement question in similar code-coverage disputes. If the insurer acts as though only a direct inspector demand counts, the claim can become narrower than the policy allows.
A professional roof inspection can also matter when a storm claim turns into a code fight over tear-off, underlayment, or replacement methods. A careful inspection report helps separate pre-loss wear from post-loss code requirements, and that gives you something concrete when the carrier starts questioning scope. It is the kind of paper trail that keeps the conversation tied to what has to be rebuilt, not what the insurer hopes can be skipped.
The best counter is documentation, not drama. Ask for the carrier's code citation, request a written explanation for any depreciation applied to code items, and bring in an independent code consultant if the scope is unclear. If you want a closer look at the kinds of adjustment moves that can suppress payment, the article on insurance adjuster tricks is a useful companion.
When a Public Adjuster Is the Right Call
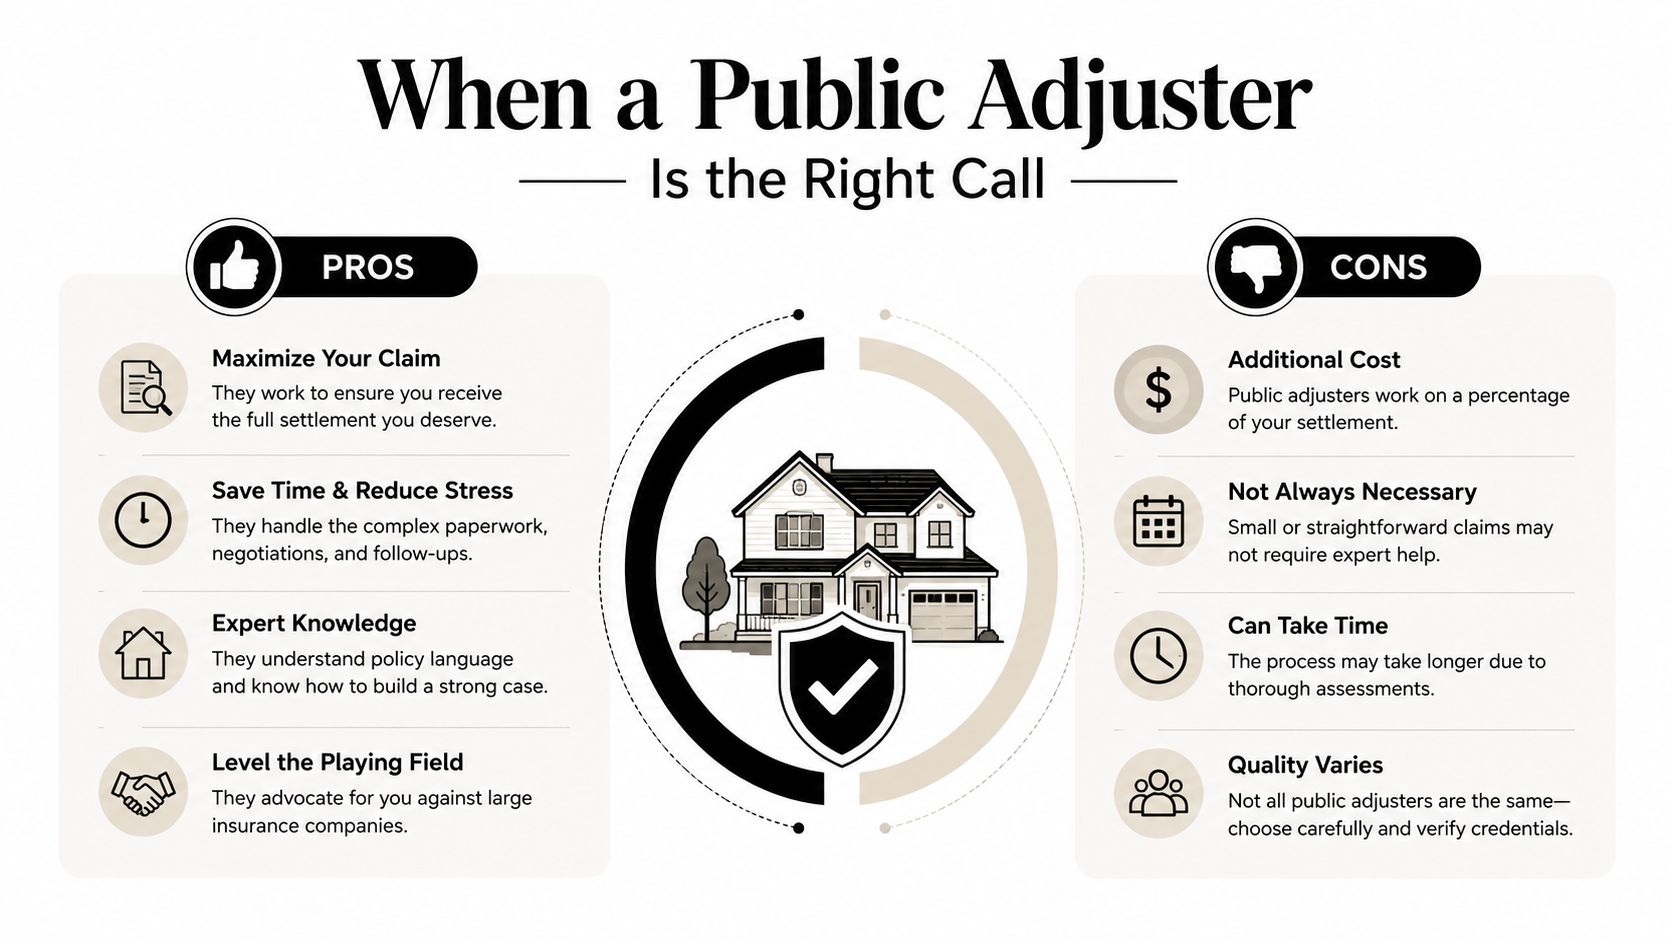
A public adjuster is a licensed advocate who works for the policyholder, not the insurance company. In Oregon and Washington, that matters because the claim file can get technical fast, especially when code requirements, permits, and reconstruction scopes start colliding with policy limits. NW Claims Management operates under state public adjuster licenses and works on a contingency basis, so the fee comes from the claim outcome rather than an hourly billing arrangement.
The situations that usually justify help
If the rebuild is large, if the percentage cap is obviously too small, or if the carrier is treating code items like ordinary repair items, a public adjuster can take over the documentation and negotiation load. That can be especially useful for municipalities, schools, churches, and nonprofits that don't have in-house staff to spend days chasing permit records and code citations.
The timing matters too. Public adjusters generally shouldn't be brought in mid-negotiation without carrier consent, so the smartest time to engage one is early, before the file has narrowed into a one-sided estimate. That gives the adjuster room to document the loss correctly instead of trying to unwind a half-finished claim strategy later.
Oregon and Washington owners should think about capacity, not just conflict
A homeowner may only need a second set of eyes. A commercial owner may need someone to challenge a valuation that ignores code-driven demolition. A nonprofit may need help building the entire narrative of why the code work is required, who ordered it, and how the policy should respond. The right call isn't always litigation, it's often just bringing in someone who lives in claim files every day.
If you're trying to decide whether to hire one, the guide on when to hire a public adjuster walks through the practical decision points without the sales language.
A Practical Checklist Before, During, and After a Claim
Before a loss, review the ordinance or law endorsement and make sure you know whether Coverage B and Coverage C are scheduled separately. If the property is older, complex, or mission-critical, consider whether the percentage cap still makes sense for today's rebuild environment. A policy that looked acceptable years ago may not be strong enough for current compliance costs.
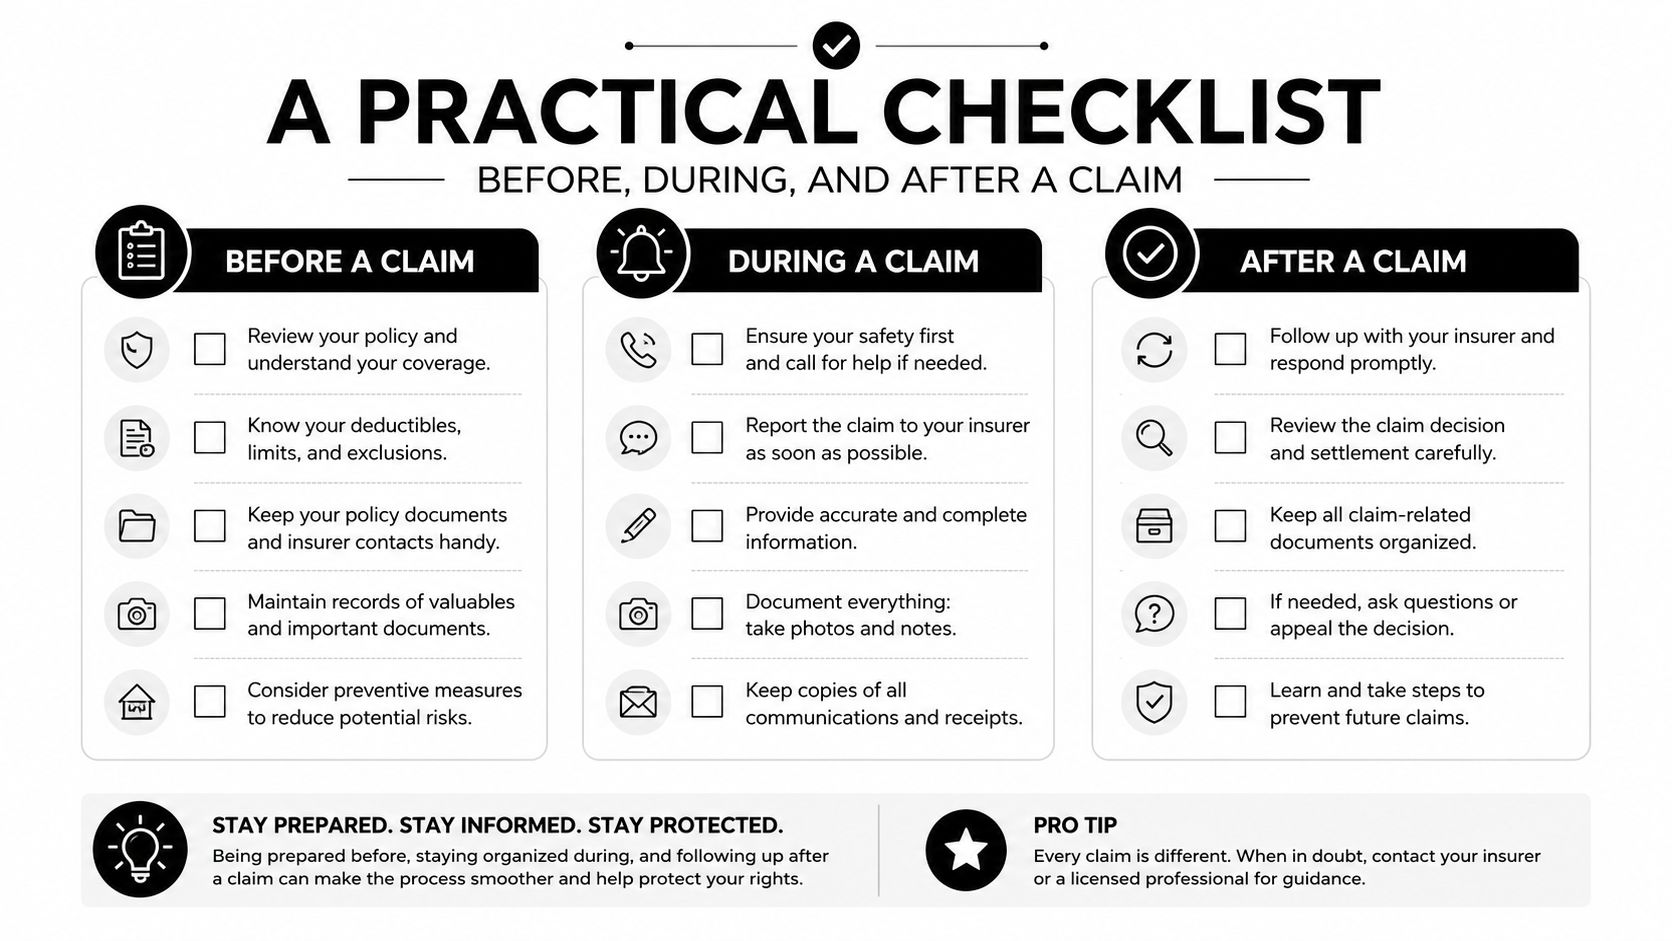
During the claim, document the pre-loss condition, secure the adopted code edition, and submit a code-specific estimate. Don't let the repair estimate and the code estimate blur together, because that's exactly how carriers end up treating required work as if it were optional.
After the offer arrives, compare the code payment against the actual scope the city is requiring. If the gap is material, escalate with a licensed public adjuster, a code consultant, or the state insurance process rather than letting a low figure sit unchallenged.
A short checklist helps because code upgrade coverage is easiest to lose by accident. Owners focus on the visible damage and forget the permit layer until the city makes the decision for them. By then, the only question left is whether the policy has enough room to pay for what compliance now demands.
If the opening scenario sounded familiar, that's because it happens every time a policy has a percentage cap but the rebuild needs more than the cap can buy.
NW Claims Management helps Oregon and Washington property owners document losses, evaluate ordinance or law issues, and negotiate insurance claims when rebuild costs run beyond the first estimate. If you're dealing with permits, code-required upgrades, or a low ordinance payment, visit NW Claims Management to request a claim review and get help building the code portion of your file.